
Should you hide your ass when browsing the internet? When considering all the personal information provided online, everyone should cover his or her online activities with a Virtual Private Network to help ensure that information remains private. Here, we are going to take you through a tutorial showing you how to install HideMyAss VPN.
HideMyAss is just one of many Virtual Private Network providers you might want to look into. However, if you are worried about logging you might want to consider alternatives as HMA does keep some logs. ExpressVPN, on the other hand, has a no-logging policy, offers a no-risk 30-day money-back guarantee, and many more benefits.
Prerequisites for Installation
If you have decided to go with HMA, we should mention that the latest version of the software requires the .NET Framework to work correctly. With this in mind, before you begin our tutorial, you might want to check to find out if you have .NET Framework 4.5.1 at least, preferably .NET Framework 4.6 installed.
Note that this is ONLY for Windows users.
Once this has been confirmed or you have downloaded and installed it, you can continue to step one of our guide which will explain to you how to install and set up HideMyAss on your devices.
Step 1 – Choose Your Plan
HideMyAss offers several plans, so first, choose a suitable plan and enter your payment information along with personal information. Like we’ve seen with all other VPN providers, if you choose a long-term plan, the price/month will be cheaper.

Step 2 – Download HMA Client
Head over to the download page of the provider and choose the correct download. The choices are Windows PC, Mac OS, Linux, Android, and iOS. Click on the “download” button and save the file to your device.
Step 3 – Installing HMA
If you are following this how to install HideMyAss tutorial on Windows, go to the place where you downloaded the file (usually Downloads), then right-click on the file and choose “Run as administrator”.
At this point, a window might pop up warning that the “TAP driver” has not passed the Microsoft driver signing check but do not be alarmed. Proceed with the installation.
Step 4 – Sign in to the Dashboard
Step 4 in our how to install and set-up HideMyAss tutorial is the signing in process and this is where you need the email address and password created when purchasing the plan or a license key.
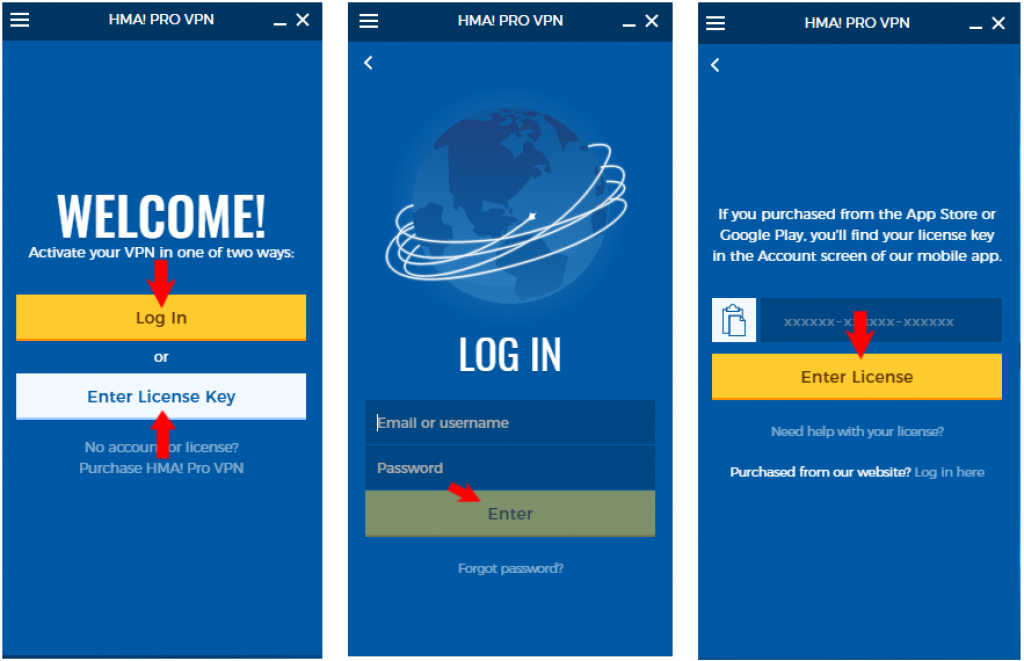
Click on the HMA icon on your start menu if using Windows and a dashboard will open up. Enter your login information to gain access or the license key.
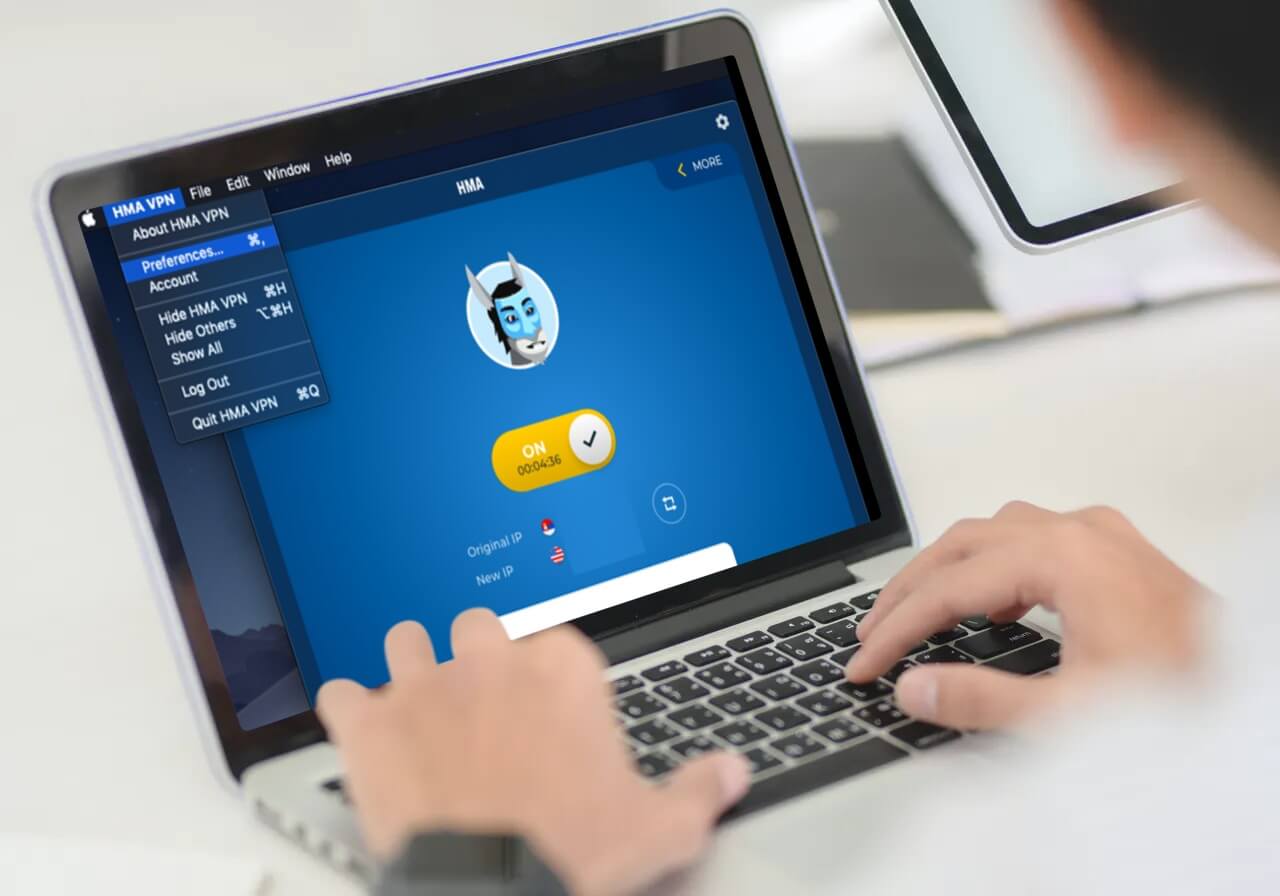
Step 5 – Using the Software
Congratulations on getting this far, you have almost come to the end of our how to set up HideMyAss guide. There is only one more thing you have to do and that is connecting to the server.
There are 3 choices – instant mode, freedom, and location mode. The instant mode is the easiest. Just click on the button and you will be allocated an IP address. Thanks to its many locations, it will be perfect to watch all Netflix catalogs all around the world or to do any kind of streaming.
Freedom mode comes in handy if you want to bypass censorship, and location mode is used to choose any server around the world.
We hope you enjoyed our HideMyAss installation guide. With that in mind, you should now be connected to a server while your IP address is masked, thus enjoy maximum security and privacy.

A professional writer with a Master’s degree in Mechanical Engineering. Since his youngest age, he loves everything related to internet, technology, fitness, games, and dogs! He joined our team in order to bring his deep knowledge in security services, among which VPN is of course a key component.